Minecraft Education: Quickstart Guide
- claire81769
- Oct 22, 2025
- 3 min read
Updated: Nov 11, 2025
Welcome to Minecraft Education! This guide provides a straightforward walkthrough for new players and educators to get started, from logging in to creating an ideal first world for learning and building.
Section 1: Logging In
Follow these steps to sign into your account and start the application.
Launch the Minecraft Education application on your computer or tablet.

From the main welcome screen, click the Sign In button.
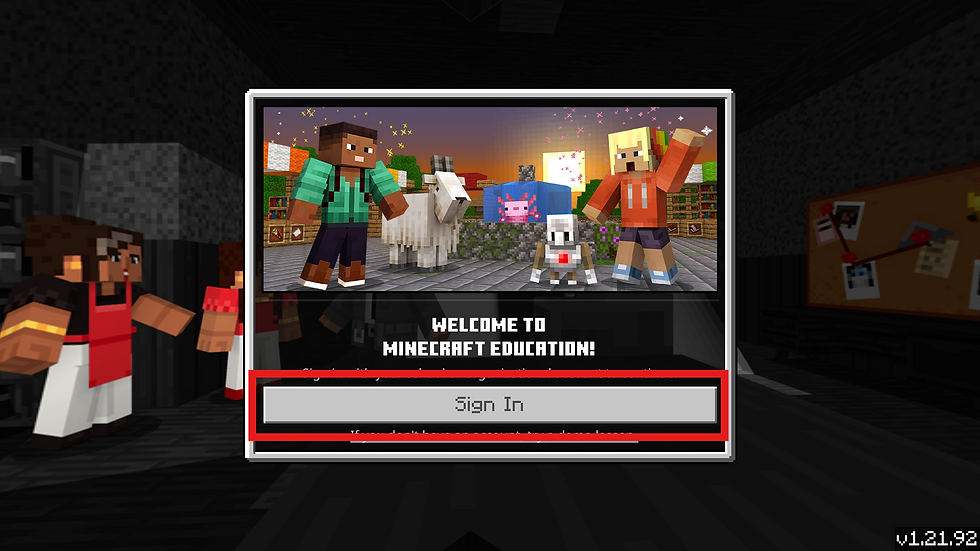
When prompted, enter your complete school or organizational email address and password.

Follow any additional prompts to complete the authentication process.
Section 2: Recommended Settings
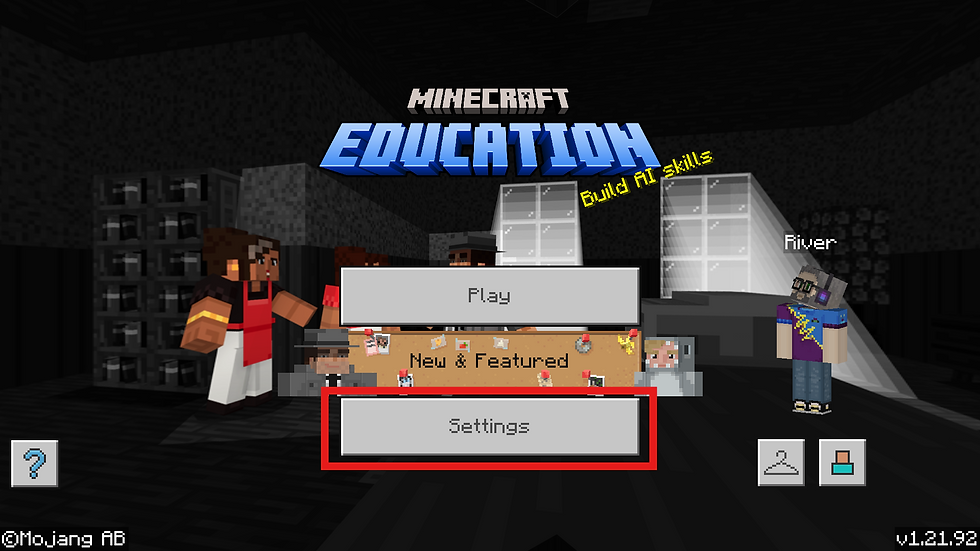
Before jumping into a world, it's a good practice to adjust a few settings for a more comfortable and focused experience. You can access these from the Settings button on the main menu.
Key Audio & Control Adjustments
Turn Off Background Music: Navigate to Audio and move the Music slider to 0 (zero). This helps minimize distractions during lessons or creative sessions.

Adjust Mouse Sensitivity: Go to the Keyboard & Mouse tab. Lower the Camera Sensitivity to a value around 20. This makes camera movement smoother and less erratic, which is especially helpful for new users.

Accessibility for Motion Sickness
For users who are sensitive to in-game motion, these settings are highly recommended.
Disable Head Bobbing: In the Video settings, turn OFF the toggle for View Bobbing. This prevents the camera from bobbing up and down as your character walks.
Disable Camera Shake: In the same Video menu, turn OFF the toggle for Camera Shake. This stops the screen from shaking during events like explosions.

Section 3: Creating Your First World (Creative Flat)
A flat, peaceful world is the perfect sandbox for building, experimenting, and learning without obstacles or threats.
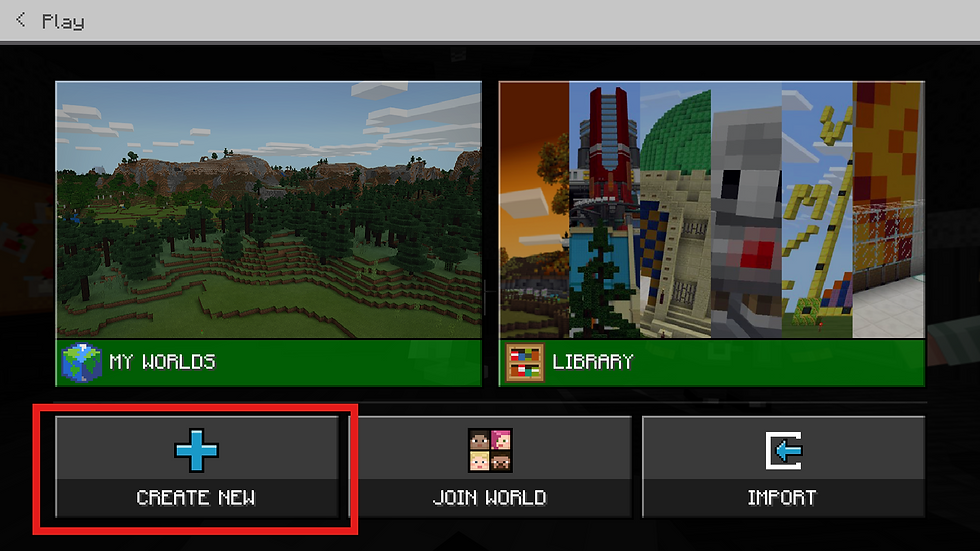
From the main menu, click Play.

2. Select Create New.
3. On the "Create New World" screen, configure the following game settings:
World Name: Assign a descriptive name (e.g., "My First Build Project").

Default Game Mode: Set this to Creative. This provides unlimited resources and the ability to fly.

Difficulty: Set this to Peaceful. This removes all hostile creatures and prevents hunger.

4. Next, scroll down to the Advanced section to fine-tune the environment:
World Type: Change the default "Infinite" setting to Flat.

Show Coordinates: Turn this ON. The player's X, Y, Z position will be displayed, which is invaluable for navigation and coding activities.

Always Day: Turn this ON to prevent the day/night cycle.

Perfect Weather: Turn the setting Weather Cycle to OFF to disable rain, snow, and storms.

5. Once all settings are configured, click the Play button to launch your world.

Section 4: Understanding the Interface (HUD)
In a Creative, Peaceful world, the Heads-Up Display (HUD) is clean and simple. Here are the key elements you will see on your screen.
Control Tips: Control Tips are an on-screen control guide that adapts to what you are currently doing in the game. This can be toggled on and off using the H key.

Crosshair (+): The small plus symbol in the center of your screen. Use this to target blocks for breaking or placing.

Hotbar: The 9-slot bar at the bottom of the screen. This is your quick-access inventory for blocks and items you are actively using.

Action Suggestions: Located in the bottom right corner of screen, these show the current possible interactions you have in a given situation.

Coordinates: Located in the top-left corner, this shows your Position (X, Y, Z) in the world.
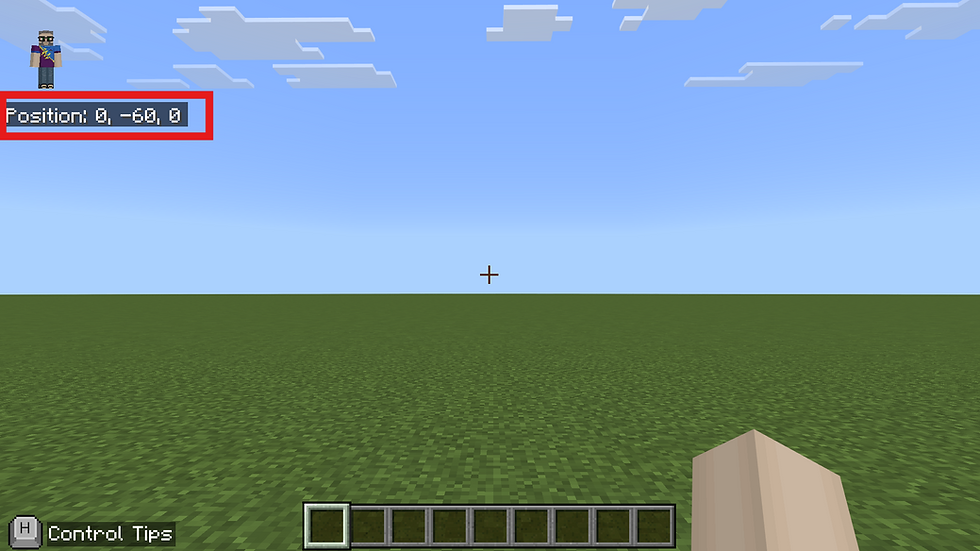
Paper Doll: The paper doll appears when you are in any position other that walking on the ground (e.g. flying, swimming, crouching)

Section 5: PC Navigation Cheat Sheet
Use this reference for standard keyboard and mouse controls.
Basic Movement & Interaction

Flying Controls (Creative Mode Only)

Section 6: Next Steps - Find In-Game Tutorials
For a hands-on learning experience, Minecraft Education includes built-in tutorial worlds that guide you through the controls and core mechanics.
From the main menu, click Play.

Select Library.

Click on the How to Play category.

Click Start Here

Here you will find Tutorial Worlds specifically designed to teach movement and interaction for keyboard, touch, and controller interfaces. Launching one of these is a great way to practice!

Guide v1.21.92

